First off I made an almost costly mistake while crafting my prototype (literally). I somehow managed to leave the lid off the brand new glue stick I bought for about four days. Thankfully, while the top of the glue stick was dry as can be, the sides were still sticky. I was able to chop off a thin layer from the top of the glue stick and salvage the rest. So, don't do what I did.
My vision for this toolbox replica was to craft a paper toolbox that was both functional and aesthetically pleasing. I mostly achieved the structure of such an object in my prototype, but visually the toolbox prototype was a blank canvas. In the critique ides were given to add structure to the inner walls of the toolbox (both for aesthetic and for better stabilizing the walls themselves). Other suggestions included trying for a Zim and Zou style (with layered multicolour paper), incorporation of the wooden texture from the original toolbox, a more rounded handle, layered designs, and crisper folds to be more precise. Out of these suggestions, I did fix the walls of the toolbox because it needed that support, and my folds were crisper for the final object. In terms of the design though, I decided not to go with the Zim and Zou method, but to go for something different.
I was inspired by images of the night sky that show visible light trails. Basically the entire sky is transformed into streaks of light. I used this idea to decorate the two tall sides of the toolbox. I incorporated the colours of the night sky: different shades of blue, purple, yellow, and white.
There were a few different tests I tried on the prototype before continuing on to the final object. This included adding interior walls for support. These walls were a pain to glue, but they solved the problem of the walls curving outward. At one point, I was also considering incorporating glitter into the piece, but the test on the prototype proved it to be lumpy and messy. I also tested out the cut paper siding by shredding card stock and printer paper. The card stock was too stiff to work with, but the printed paper was thin enough to manipulate into the designs I wanted.
I didn't realize until much later that using black paper in my design would complicate everything. Trying to print outlines on black paper only resulted in impossible to see lines and curled card 1stock.
Here, you can sort of see the lines for the plan.
But at a distance, they became practically invisible and thus would not work.
This meant a change of plans in order to achieve the black toolbox I wanted. I had to print out all of the plans on white printer paper, layer the printer paper over the black card stock, and cut into both papers.
This method of cutting took way longer than the original method of straight cutting through the card stock that I used for the prototype. Assembly of the toolbox itself also took a great length of time and many parts would not cooperate with the glue right away. Oddly enough the handle, the part that was most difficult in constructing the prototype, was the only step that went faster and easier this time around.
After printing, cutting, and assembling the parts of the toolbox, it was time to start decorating the sides. Which was much more time consuming than I had expected. I started by printing out different coloured printer papers.
After that, I shredded them using a paper shredder to get the long, thin strands I wanted.
The final product was not as detailed as I had originally intended it to be, but I ended up liking the end results for the siding because it ended up visually similar to the original layered design.
I did not end up getting all four sides decorated. The assembly and decoration of the toolbox took a significantly greater amount of time than I expected. I do, however, like that this resulted in a toolbox structured similar to the original with two sides that look similar and another two sides that look similar.
Part of the issue I had with the original toolbox was that there was no plan to it when I made it. Colours went wherever I felt like putting them, and patterns were chosen in the moment. I wanted the toolbox to be a more sophisticated version, and I think that having a simple monochrome black colour scheme works to achieve this, and the small decoration on the sides is enough to carry the piece. The mass of black in the centre of the toolbox is also a nice representation of the night sky when the visibility of stars is low.
This is the plan for the toolbox, separated into different sheets for printing. Each side was about the size of a piece of paper each to make cut and assembly easier.
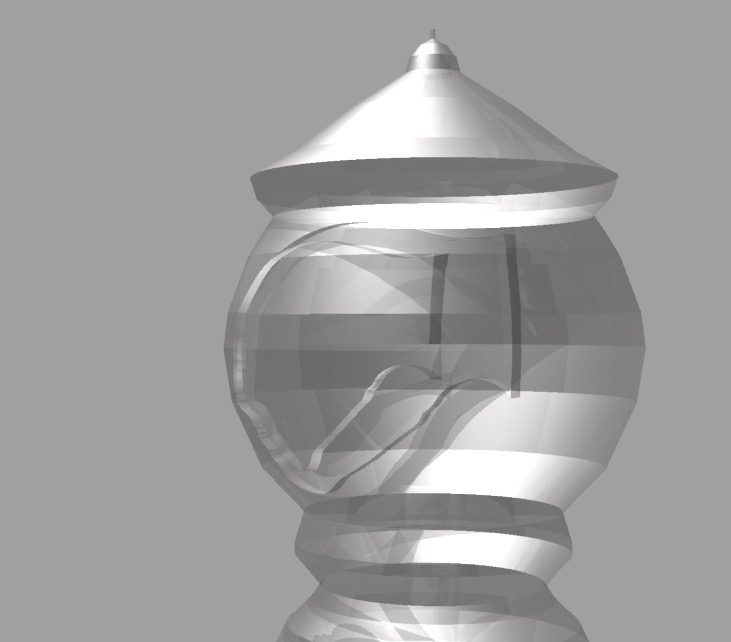
Rhino Renderings:
I did not have an image reference for the cut paper strips, so it is presented in its inky-black state.